
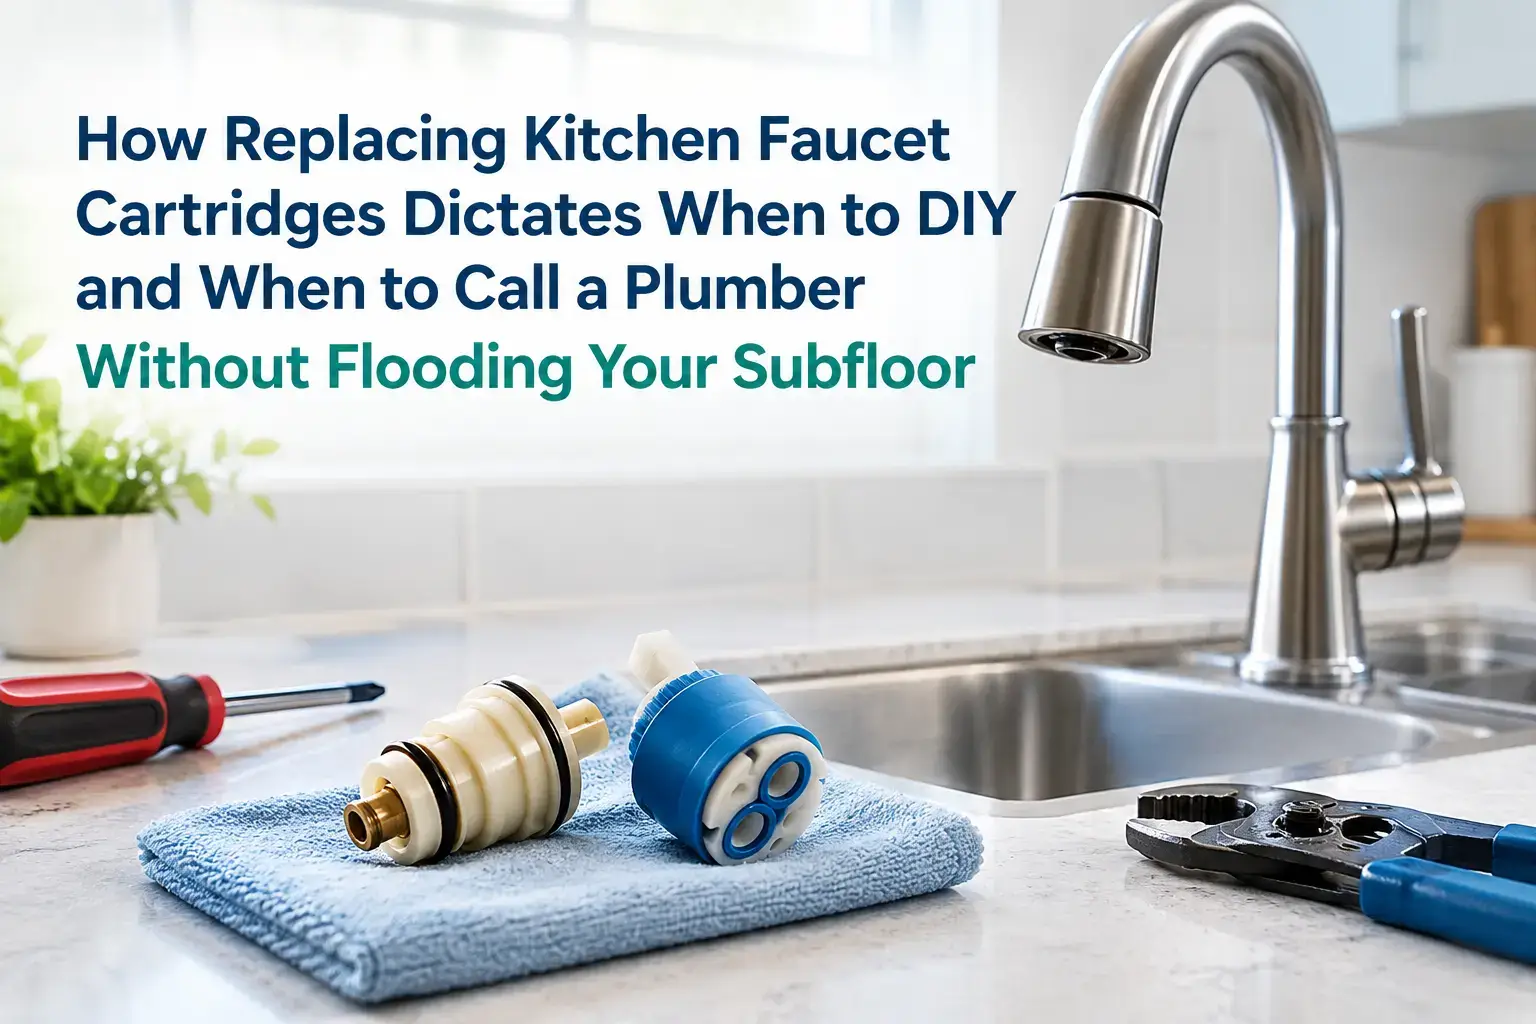
How Replacing Kitchen Faucet Cartridges Dictates When to DIY and When to Call a Plumber Without Flooding Your Subfloor
Picture this: you notice a persistent drip beneath your kitchen sink, maybe a damp patch spreading across the cabinet floor. If left unchecked, such a leak can soak through the cabinet base and eventually damage your subfloor, leading to costly repairs. The source is often a worn kitchen faucet cartridge, the internal part that controls water flow and mixing. Knowing when you can handle replacing a kitchen faucet cartridge yourself—and when a leak signals a larger plumbing issue—can be the difference between a simple repair and a water-damaged disaster. Acting promptly and understanding your own repair limits ensures you fix the problem without flooding the hidden structure beneath your kitchen.
Identifying Kitchen Faucet Cartridge Leaks Before Subfloor Damage Occurs
The first sign of a failing cartridge is often a slow leak from the faucet spout or base, even when the handles are off. Some homeowners also spot a subtle drop in water pressure or find it increasingly difficult to turn the handle smoothly. If the leak is left to persist, water may seep into the cabinet, pooling around supply lines and eventually making its way to the subfloor.
Inspect the area under your kitchen sink for moisture, discoloration, or swelling in the cabinet wood. These are early warnings that replacing kitchen faucet cartridge parts may be necessary. Addressing these issues quickly helps prevent mold growth and the weakening of structural materials below.
For a step-by-step approach to detecting faucet leaks and water damage, follow inspection routines after spotting drips or dampness. Early detection not only saves your subfloor but also keeps the scope of repair manageable for a confident DIYer.
Essential Tools and Safety Precautions for Homeowner Plumbing Repairs
Before you begin any faucet cartridge project, assemble the right tools: an adjustable wrench, a basin wrench for hard-to-reach nuts, a flathead screwdriver, and the correct replacement cartridge—make and model matter, as cartridges are not universal. Shut off the water supply valves under the sink to avoid unintentional flooding. Place a towel or shallow pan under the plumbing to catch any residual water when disconnecting lines.
Wear gloves and safety goggles to protect your hands and eyes from sudden water sprays or debris. If your home has older plumbing or corroded connections, take extra care. Applying penetrating oil can help loosen stuck parts, but avoid using excessive force that might crack pipes or fittings, which could escalate a simple job into an urgent repair.
Following plumbing safety guidelines for homeowners reduces the risk of injury or accidental damage during the cartridge replacement process. Careful preparation is your best defense against turning a minor leak into a much bigger problem.
Step By Step Cartridge Extraction Techniques For Successful Handymen
After shutting off the water, remove the faucet handle by loosening its set screw—usually hidden beneath a decorative cap. Next, unscrew any retaining nuts or clips holding the cartridge in place. Some cartridges require a cartridge puller tool for safe extraction, especially if mineral deposits have fused the part to the faucet body.
Take note of the cartridge orientation before removal, snapping a quick photo if needed for reference during reassembly. Once the old cartridge is out, clean the inside of the faucet body with a soft cloth to remove buildup. Insert the new cartridge, ensuring alignment tabs or notches match the faucet housing. Secure it with the original retaining hardware, reinstall the handle, and turn the water supply back on gradually while checking for leaks.
If, during replacing kitchen faucet cartridge components, you notice stripped threads, damaged parts, or persistent drips after reassembly, this indicates the need for a deeper inspection or professional help. Proper technique minimizes the chance of leaks that could threaten your subfloor.
Recognizing Complex Plumbing Failures Requiring Professional Intervention
Not every kitchen faucet leak is solved by swapping a cartridge. If you encounter corroded supply lines, evidence of water pooling beneath the cabinet after a repair, or a faucet that won’t stop leaking despite a new cartridge, it’s time to reconsider your approach. Hidden pipe damage, compromised shut-off valves, or poorly sealed fittings can all lead to leaks that travel beyond the cabinet and soak into the subfloor below.
In these scenarios, attempting more repairs without the right experience can worsen the issue. Knowing When to DIY and When to Call a Plumber helps homeowners avoid unnecessary water damage. This decision resource outlines clear signs that professional tools and expertise are required to prevent a plumbing mishap from damaging your home’s structural foundation.
Calling a licensed plumber at the first sign of complex problems not only protects your subfloor but also ensures repairs are compliant with local codes and long-lasting.
Conclusion
If you discover a leak linked directly to your faucet cartridge and feel confident using the necessary tools, a careful DIY replacement can resolve the issue without risk to your subfloor. However, if you find corroded pipes, ongoing leaks, or any water pooling after your repair, stop and contact a plumber immediately. Prioritize the integrity of your home’s structure by knowing your limits and acting quickly when repairs seem beyond a straightforward cartridge swap.